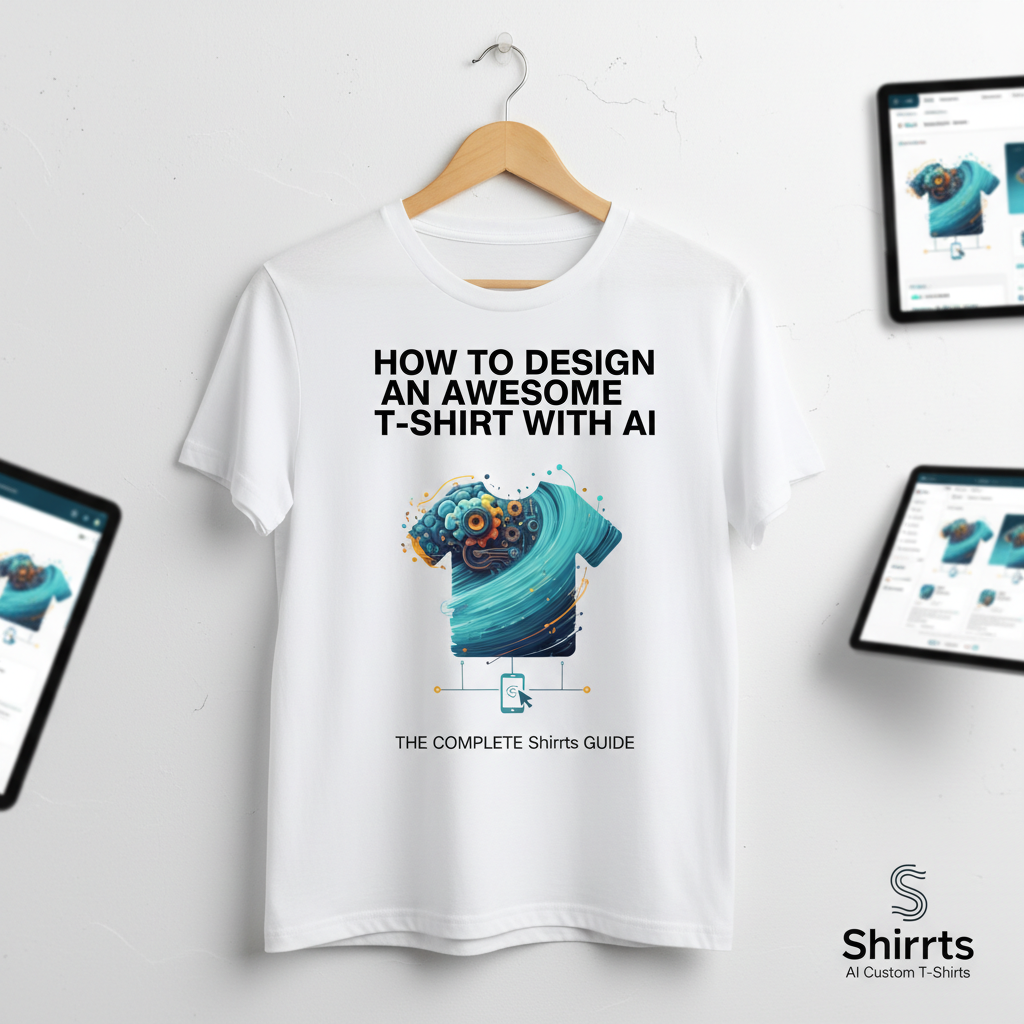
How to design an awesome t-shirt with AI (the complete Shirrts guide)
By Shirrts · June 12, 2026
On this page▾
Designing a shirt on Shirrts takes about as long as buying one off the rack. You type a few words describing what you want, and Shirrts returns four ready-to-print designs in seconds. Pick the one you like, choose a shirt color, and order. No design software, no Photoshop, no blank canvas to stare down.
Here's the short version: describe → generate → pick → order. That four-step path gets most people a shirt they're happy with in under a minute, and you can stop there.
Everything below is optional. Reach for it when you want to art-direct the details, when you have a logo, photo, or reference image to work from, when you want the same design on the front and back, or when you'd like a few friends to vote before you commit. Jump to the section you need:
- Describe what you want and Generate until you love it — the one-minute basics
- Upload a logo, photo, or inspiration — start from an image instead of text
- Edit a design you already like — tweak without starting over
- Change the shirt color and where it prints — colors and print placement
- Go double-sided — add a back print
- Share your designs and let people vote — get input before you buy
![[IMAGE: a finished shirt mockup, or the grid of four generated designs]](https://mxlaesfhfrtoupwbypis.supabase.co/storage/v1/object/public/article-images/articles/ee358224-cf8b-465d-a43d-cb0990217ba3.png)
Describe what you want
Start on the design page. You fill in a short form, so you are never staring at a cursor wondering what to type. Add your wording, write one line about the picture you want, pick a style, and hit generate. For a lot of shirts, that is the whole job.
When you want more control, two fields matter most.
The first is Illustrations or icons, where you describe the picture. Here is the one trick that separates a good result from a flat, clip-art one: describe an object doing something, not a pile of nouns. "Owl, baseball, stars" gives you three things sitting next to each other. "A wide-eyed owl winding up to pitch a baseball, motion lines trailing behind it" gives you a scene. The verb is what makes it feel drawn on purpose.
The second is Special instructions, which is for the look rather than the contents. For a beat-up vintage feel, write "distressed retro, vintage worn look." If you are uploading a photo and want it left alone, write "keep the photo as-is, a clean cutout, do not stylize it." This field sets the mood.
One more worth knowing is the color palette. The presets are fine on their own, but choosing Other lets you type exact colors by name or hex code (like #FF5733), which helps when you are matching brand colors.
[IMAGE: the design form filled in, with the Illustrations and Special instructions fields highlighted]
Upload a logo, photo, or inspiration
That same form has an upload field, and it covers three jobs through one button. Drop in a company logo to put on the shirt, a photo you want turned into a design, or a reference image whose style you want to borrow. Then tell Shirrts what to do with it in Special instructions, something like "put this logo on the left chest" or "match the style of this image but use our colors."
If you mostly want a picture or logo turned straight into wearable art, there is also a dedicated image-to-shirt flow built for exactly that. It gives you four options the same way.
[IMAGE: the upload field with a logo or photo added, or an image-to-shirt result]
Generate until you love it
Every time you generate, you get four designs, not one. If the first option is not quite right, one of the other three usually is, or the next round will be. Generate as many times as you want.
As you go, tap the heart on anything you like. Favoriting keeps it around so you can compare across rounds instead of losing a good one to the next batch. I would not overthink the early rounds. Get the overall idea right first, the picture and the general feel, and leave the small stuff for editing. There is no penalty for being picky here.
[IMAGE: the results grid of four designs, with a favorite heart visible]
Edit a design you already like
When one is close, click it to open the editor, describe the change you want, and Shirrts builds new versions from that design instead of starting over. Fixing a typo or swapping out a word comes back reliably.
The editor has two separate controls, and it helps to know which is which. The text box is for changes to the design itself. The options in the bottom right are for the shirt color and where the art prints. Typing "make the shirt navy" in the text box will not work; that is what the options panel is for, which is the next section.
A small habit that helps: change one thing at a time, so you can see what each edit actually did.
[IMAGE: the editor, showing the text box and the bottom-right options panel]
Change the shirt color and where it prints
You can recolor the shirt and move the design around without generating anything new. In the editor, open the options in the bottom right, pick a color and a placement, and hit Update. The mockup repaints right away.
There are 12 shirt colors, running from white and black through navy, maroon, forest green, and a few brights. Placement gives you three choices: large on the front, small on the left chest, or large on the back. You also set these in the form up front, so this is really just where you change your mind later.
A quick contrast tip so your art actually shows: light designs pop on dark shirts, and dark designs can disappear on charcoal or navy.
[IMAGE: the options panel with color swatches and placement, or one design shown on two shirt colors]
Go double-sided (front and back)
To put art on both the front and the back, you design each side as its own shirt and then combine them. On the product page, click Add Back Print and pick the design for the other side. You can also do this from your designs list. The product preview then shows both sides together.
This is the least obvious step in the flow, so here it is plainly: the two sides start as two separate designs, and Add Back Print is what joins them into one shirt. It works nicely when you want a bold graphic on the front and the details on the back, like a team roster or a sponsor. Double-sided costs a little more than a single print.
[IMAGE: the Add Back Print button on the product page, or a finished front-and-back pair]
Share your designs and let people vote
When you cannot decide between designs, share them and let other people vote. The share button, on your designs gallery or a product page, makes a link you can text or email. Whoever opens it can heart their favorites without making an account, and you see the tallies.
One bit of advice: share your top two or three, not all four. A short list gets you a clear winner instead of scattered opinions.
[IMAGE: the shared collection view, showing hearts and voter names]
A few things to know once you have a design
The discovery gallery is good for browsing what other people have made when you need a starting point. Templates give you a head start for common occasions, like family reunion shirts. And if you are outfitting a whole group, a group order collects everyone's sizes for you, so you are not chasing people down in a spreadsheet.
That is genuinely the whole process. Describe what you want, generate a few rounds, tweak your favorite, and order it. If you were not sure you could make a shirt worth wearing, the easiest way to find out is to start designing and see what comes back.
Frequently asked questions
- How do I design a t-shirt on Shirrts?
Go to the design page, describe what you want in the form, and generate. You get four designs back. Pick one, adjust the color or placement if you like, and order it.
- How many design options do I get each time?
Four. Every time you generate or edit, Shirrts gives you a set of options to choose from, so you are picking rather than hoping.
- Can I design the front and back of a shirt?
Yes. Design each side as its own design, then click Add Back Print on the product page to combine them into one double-sided shirt.
- Can I upload my own logo or photo?
Yes. Use the upload field in the design form for a logo, a photo, or a reference image, and say what to do with it in Special instructions. There is also a dedicated image-to-shirt flow if that is all you need.
- What shirt colors are available?
Twelve: white, black, charcoal heather, athletic heather, navy, royal blue, red, maroon, green, forest green, mustard yellow, and pink.
- Where can the design be placed?
Three placements: large on the front, small on the left chest, or large on the back.
- Do people need an account to vote on my designs?
No. Anyone with your share link can heart their favorites without signing up.
- What if my edit gets blocked?
A safety filter caught a word or phrase in your request. Reword it and try again.
- How do I make part of my design bigger or smaller?
Size edits are the one thing the AI is less responsive to, so be blunt. Instead of 'make it smaller,' try 'shrink it into a small icon'; instead of 'make it bigger,' try 'double the size.' If it still is not landing after a few tries, email support@shirrts.com and we will edit any design for you.